Designing Your Own Business Card
- Oct 3, 2023
- 7 min read
As our means of communication become increasingly digital, the printed business card retains its position as a staple of the business world, and it’s easy to see why. After all, it’s a quick and cost-effective way of handing out information. And at the same time, it also forms a tangible memory of you and your business in the hands of potential leads.
A business card is a small piece of paper that holds your contact information. It conveniently rounds up all of the essentials in one place, including your name, brand logo, and contact details like your website, phone number, and social media handles. It serves as a nonintrusive and friendly invitation to reach out at any time.
Creating a business card can be done with the help of a professional designer, or independently using a business card maker. Here’s everything you need to learn how to design a business card on your own, explained in a few simple steps:
Business card size
The standard business card sizes vary from country to country. While the following dimensions are the most commonly used ones, note that they are not mandatory and can be changed to best fit your vision and ideas:
US and Canada Standard: 3.5” × 2” (89mm × 51mm)
With bleed: 3.75” × 2.25” (95.25mm × 57.15 mm)
Western Europe Standard: 3.35” × 2.17” (85mm × 55mm)
With bleed: 3.58” × 2.40” (91mm × 61mm)
Eastern Europe Standard: 3.5” × 1.9” (90mm × 50mm)
Oceania Standard: 3.54” × 2.165” (90mm × 55mm)
Japan Standard: 3.582” × 2.165” (91mm × 55mm)
Alongside the standard business card sizes, there are a few important printing terms to keep in mind before approaching the design of your business card:
Bleed area: This refers to the design elements (such as colors and lines) that extend beyond the edge of where the card will be trimmed once printed. The bleed ensures that the card will not have any unprinted areas, despite minor offsets in the cutting process. Bleed sizes range from 0.125" to 0.25", so it’s best to check the required size with your printer.
Trim line: These are lines that mark the edges of the card, signaling where the blade cut should be made.
Safety margins: These mark the lines beyond which no important design elements (such as text or logos) should be placed. The safety margins are usually around 0.19” from the trim line. This practice is meant to prevent the design from being cut off, as the blade cut can be made anywhere between the bleed and the safety margins.
Get your branding assets in order
Your business card should capture the essence of your brand and brand identity. Before approaching the design of your business card, make sure you have everything you need to get it right:
Logo: A logo is one of the most important elements to appear on a business card. If you don’t already have one, you can hire a professional designer, or do it yourself using tools such as the Wix Logo Maker. This logo design guide can also help steer you in the right direction.
Business name: The name of your business should clearly explain what it is that you’re all about. For inspiration and catchy ideas, check out this Business Name Generator.
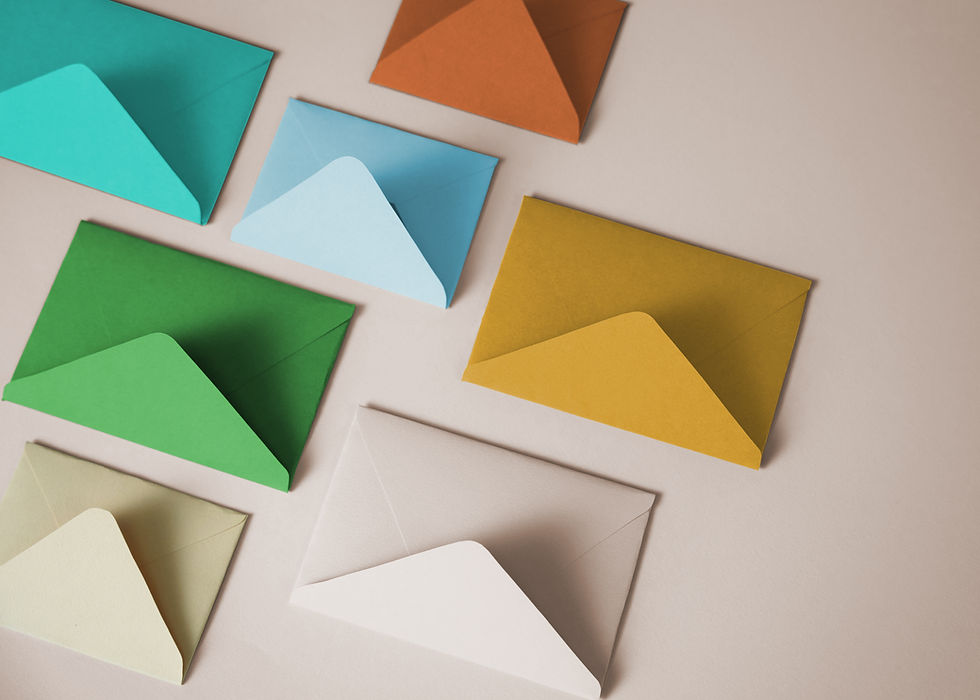
Brand color scheme: Colors can evoke emotions and set the right mood for your brand. Make sure your business card maintains the same brand colors as your website and all other branding assets.
The tone of voice: Is your brand professional and trustworthy, or is it fun and dynamic? If you haven’t already done so, decide what your business stands for. These brand values should then be reflected in your business card, both in its design and written text.
Decide on the direction your card will take
While a business card places just a small canvas at your disposal, there are many decisions to be made before approaching its design:
Shape: Business cards are most commonly rectangular, but you could also opt for more unique shapes instead. Some examples include a square, a circle, or simply a rectangle with rounded corners. And while most business cards are designed horizontally, a vertical orientation could be another interesting option to consider.
Element placement: Most business cards are double-sided, but there are also fold-over cards (a.k.a. tent cards). Either way, decide which elements you’d like to put on each side. For example, the logo can go on the front, with your name and contact details on the back.
Style: Taking into account the branding assets from the previous section, make sure that your business card exudes your brand’s style. Check out competitors’ business cards that share a look similar to yours and browse inspiration, ranging from the minimalist to the bold and from the timeless to the trendy. You can also browse some business card ideas to find a little inspiration.
Avoid common mistakes
Design with a bleed: Be sure to include a bleed in your design (as explained above). Additionally, don’t place any important information outside of the safety margins, so that it isn’t cut off.
CMYK color mode: Set your color mode to CMYK, which is the color model used in printing (and not RGB, which is used for screen displays).
Work in high resolution: To ensure that your business card isn’t pixelated, work on a 300 dpi resolution file. All files used in your design (such as your logo, icons, and images) should be of equally high quality.
Maintain legibility: Make sure that your text is written in a font that’s no smaller than 8 points so that it’s clear and legible. For the same reason, retain good color contrast in your design (there are many online color palette tools for checking color legibility).
What to put on a business card
The best business cards communicate important information quickly and easily without trying to cram in too many unnecessary details. To help you narrow it down, here’s the most relevant information that should be included when deciding how to design a business card:
Logo: A company logo is an absolute must on any business card, adding to your professionalism and credibility. Place your logo in a prominent position on the card, allowing it to stand out.
Your name: Your business card is about connecting to you as a person, which makes your name an unequivocally essential asset.
Your job title: Help jog people’s memory with a word or two about your role in the company, such as ‘Founder and Manager’ or ‘Designer.’
Company name: Be sure to mention your business name, unless it’s already clearly stated in the logo or if it’s the same name as your own (there’s no need to repeat it twice).
Tagline: This one is optional, but you can add a concise explanation of what you do with a catchy slogan of around three to five words.
Website: Add your website’s domain name, meaning your web address. There’s no need to include the ‘https://’ bit, and you can even drop the ‘www’ if you like.
Contact details: This includes your phone number and email address. If you operate from a brick-and-mortar location, add your street address as well. Add your social media handles too, if they’re relevant to your line of work.
Add eye-catching imagery
A business card’s visual language can enhance the ideas it wishes to communicate. This can be done using design basics such as a color palette, font pairings, composition, and hierarchy. Another element that adds much visual value is the use of imagery.
An image can be an illustration, a photograph, an icon, or a pattern. While each of those serves a slightly different purpose, they can all be used to draw attention to your brand. For example, a baker's business card can include a stylish illustration of berry-scattered macaroons or a black-and-white photograph of hands skillfully kneading dough.
However, avoid using images that are too literal and don’t contribute to the card’s overall mood and vibe. If you’re an artist, for example, showing one of your pieces is a better option than going for a more generic icon of a paintbrush.
Use unique touches to stand out
Applying special finishes can make for a truly bespoke business card. While these are significantly more costly, they can also add a luxurious feel and subtle tactility. Be sure not to add too many special techniques on one card, however, as the result can appear chaotic.
Foil stamping or metallic inks: Metallic colors such as silver, copper, and gold, cannot be achieved using the CMYK printing method. They can, however, be created using foil stamping or metallic inks.
Embossing or letter pressing: These two printing techniques press select elements of the design into or out of the page so that they rise off the paper and create a three-dimensional effect.
Spot UV coating: This technique applies a clear coat over certain elements of the printed matter, such as the logo, adding gloss to the design.
Laser cuts: This method creates intricate cuts in the design using a laser. It serves to cut out elements of a business card for a more intriguing result.
Special materials: Business cards are most commonly printed on cardstock, but they can also be printed on other materials, from wood to metal or magnets.
Finalize before you print
You’re almost done! You’ll soon have these beauties printed out and ready to hand out to colleagues and clients. But before calling it a day, make sure to finalize your work so that there’s no room for error. Once you’ve sent the file to print, any last-minute changes will be much more complicated and pricey.
Proofread: Triple-check that everything on your card is spelled correctly, that the information is up-to-date and accurate, and that it all looks exactly as you intend it to.
Look over the visuals: Make sure that the images are in high resolution, and that you have the legal rights to use them.
Research printing options: Look into available printing options in your area, and compare prices and services. Once you choose your printers, discuss cardstock options and printing methods with your contact person. You might also want to visit the shop in person, to browse paper options in real life. Lastly, ask for directions on the type of files that the printers would like you (or your designer) to export.
Now, all that’s left is to export your working files, send them to the printers - and enjoy the fresh smell of print when the finished product arrives!


Comments